In this blog we are learning how to upload NextJs project in Cpanel. I am explain it step by step. Let’s start
Step 1:
Make server.js file in your nextJs project folder and give this code in server.js file
const { createServer } = require('http')
const { parse } = require('url')
const next = require('next')
const dev = process.env.NODE_ENV !== 'production'
const hostname = 'localhost'
const port = process.env.port || 3000
const app = next({ dev, hostname, port })
const handle = app.getRequestHandler()
app.prepare().then(() => {
    createServer(async (req, res) => {
        try {
            const parsedUrl = parse(req.url, true)
            const { pathname, query } = parsedUrl
            if (pathname === '/a') {
                await app.render(req, res, '/a', query)
            } else if (pathname === '/b') {
                await app.render(req, res, '/b', query)
            } else {
                await handle(req, res, parsedUrl)
            }
        } catch (err) {
            console.error('Error occurred handling', req.url, err)
            res.statusCode = 500
            res.end('internal server error')
        }
    })
        .once('error', (err) => {
            console.error(err)
            process.exit(1)
        })
        .listen(port, () => {
            console.log(`> Ready on http://${hostname}:${port}`)
        })
})
Step 2:
Open your package.json file->remove npm start and give “start”: “NODE_ENV=production node server.js”
Example(package.json):
 "scripts": {
    "dev": "next dev",
    "build": "next build",
    "start": "NODE_ENV=production node server.js",
    "lint": "next lint"
  },
Step 3:
Open your next.config.mjs file ->give this code
** @type {import('next').NextConfig} */
const nextConfig = {
  output: 'export',
  reactStrictMode: true,
  swcMinify: true,
  trailingSlash: true,
  images: {
    unoptimized: true,
  },


}


export default nextConfig;
Step 4:
Delete .next file and write “npm run build” on terminal
Step 5:
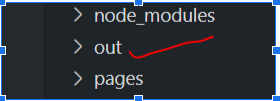
After npm run build successfully then create out file

Go to the out folder and zip all file

Step 6:
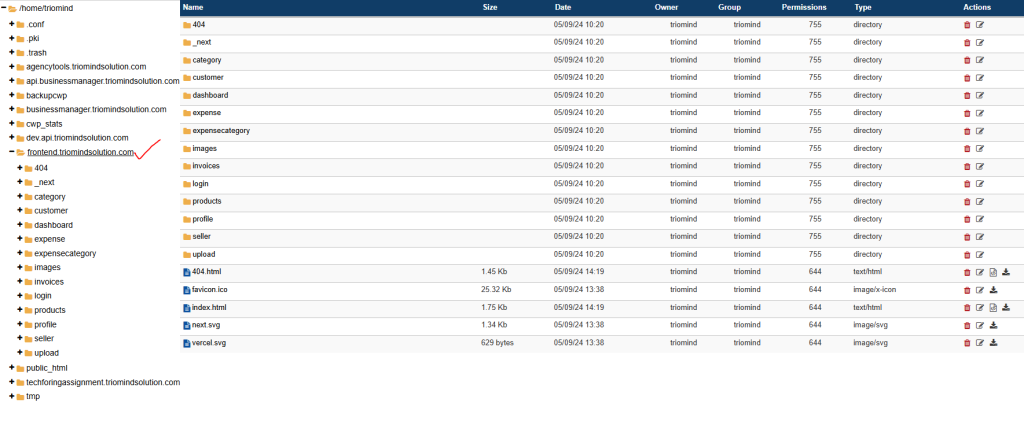
- .Go to your cpanel
- Choose your domain
- Upload zip folder
- After that unzip the folder

After all file come. Then search your domain in your browser
Thank You


1 thought on “How to Upload NextJs project in Cpanel”
Thanks For sharing